Productivity, Behind the scenes, Self-kindness
How to create a gallery wall in 7 simple steps
Jul 16Ever since lockdown began and we’ve spent so much more time in our homes, many of us have felt the need to give them some love! For some, it’s been a complete renovation project to make way for a home office and for others, it’s been adding little touches that make a huge difference such as putting some pictures up. If you’ve been wondering how to create a gallery wall, we’re here to tell you more about it and give you some top tips to make your own in 7 simple steps.
What is a gallery wall?
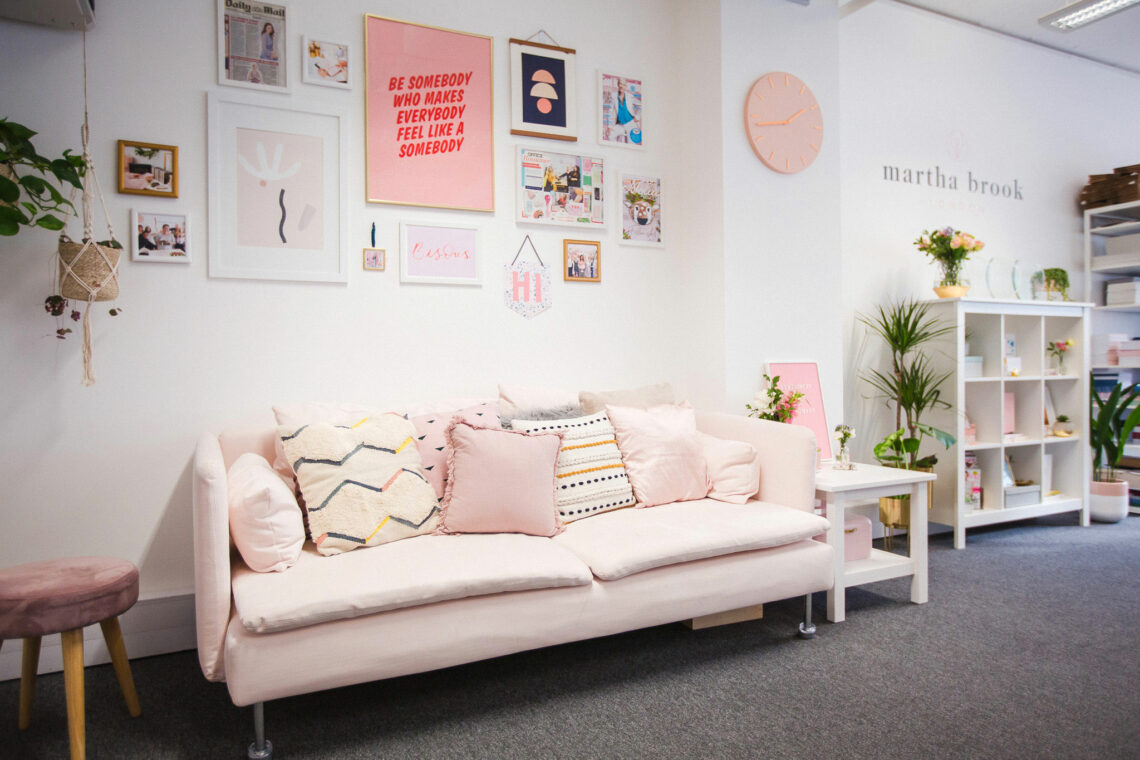
A gallery wall is an array of hanging items such as photographs, art, prints and/or decorations, all arranged creatively on a wall. Essentially a beautifully displayed set of things that you love to look at, that inspire you and fill your heart with joy – so you can totally see where it gets its name from, right? Sound up your street? Read on for 7 simple steps to create a gorgeous gallery wall of your own.
1. Be true to you
Rule number one! The great thing about how to create a gallery wall is there’s no wrong way to do it. It’s completely down to you and your style. Often a gallery wall includes photographs, art prints or posters arranged on a wall using photo frames, but you can definitely colour outside the lines and do what suits your style best.
If you only want photographs in the same sized frames, go for it! If you’d like a hanging decoration because it’s too pretty NOT to, put it up there! Texture and different shapes or sizes work really well if you want a creative feel. For us, a gallery wall is all about being your most authentic and artistic self. So let’s get to it!
2. Gather together things you love
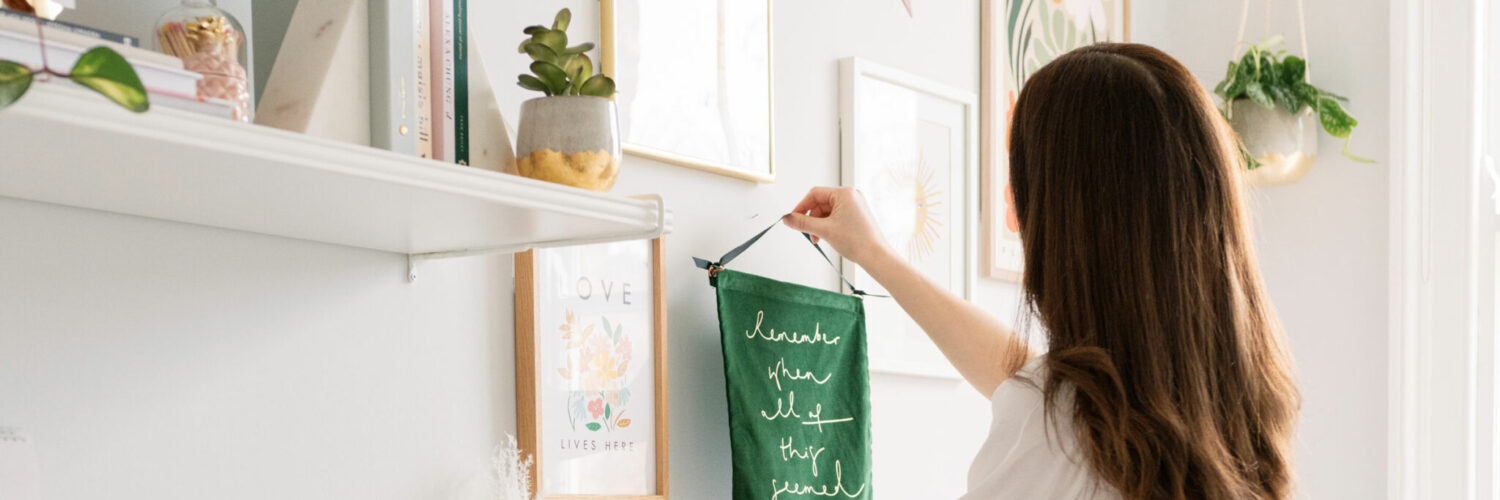
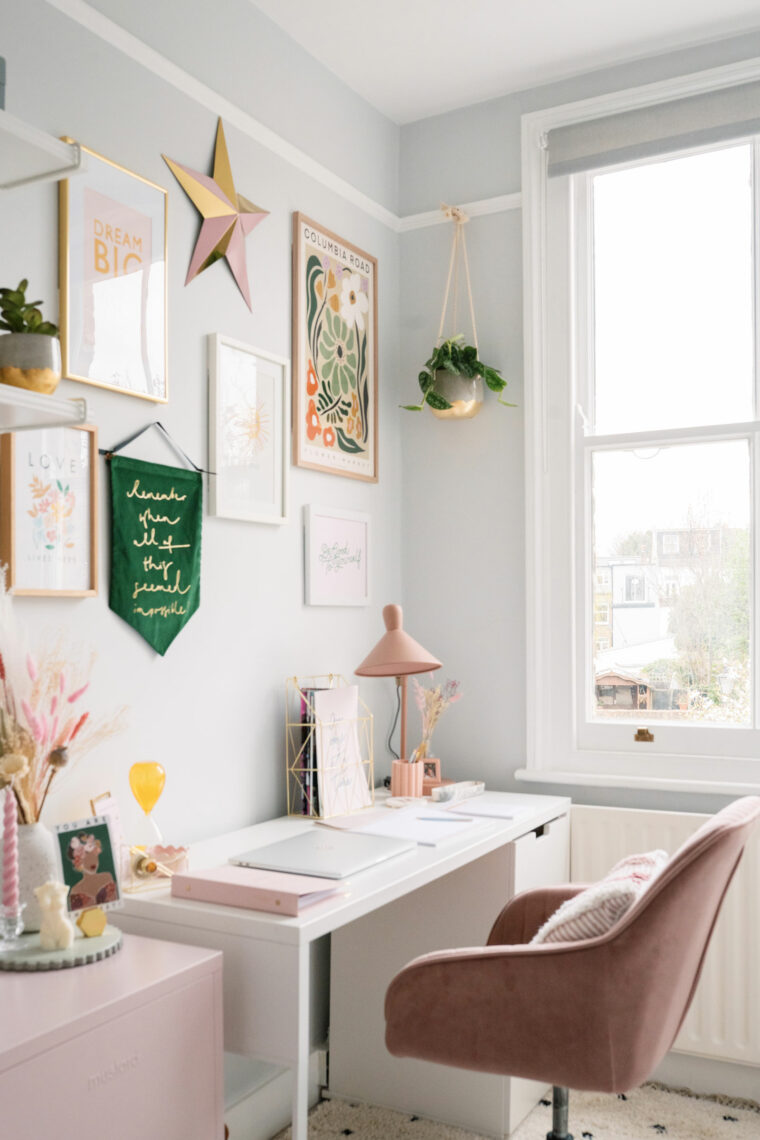
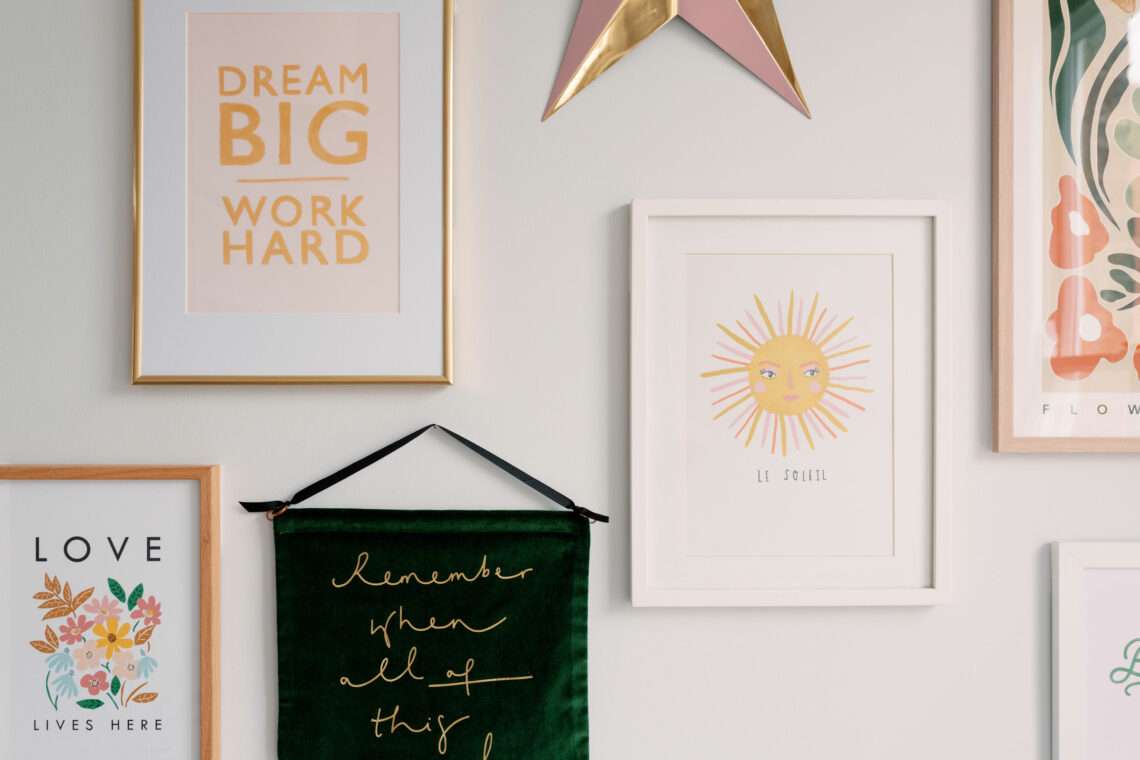
Start getting together different items that you think you’d like to feature on your gallery wall. These might be art prints, posters and textured decorations you’ve been collecting over the last few months or perhaps you’re still in the process of picking up different posters but if you need a little inspiration, we’ve got some great independent brands that we can recommend, as seen in Martha’s home office makeover!
3. Decide a theme to tie it all together
How to create a gallery wall that works together? Our top tip is to have a loose theme. This could be some colour that work across all the items, or it could be the style of prints or photos, or a general ‘vibe’. Once you have your theme decided or have a rough idea, you can start to think about adding in items for texture that adds even more interest to your gallery wall.
4. Measure up your space and pick frames
Next, it’s time to measure your space and start thinking about what frames you would like to put your posters and prints in. Think about your theme and what metal or colour would best suit that theme. Remember our first step, there’s no wrong way to do it, so when choosing your frames, the same rule applies! Be true to your style and what will suit your décor best, whether that’s mixing things up and choosing different sizes, shapes and colours, or opting for the same size frame and same colour for consistency – the choice is yours to make!
5. Decide on your layout
Now is the time to decide on your layout. No matter if you prefer clean edges or like things a little more scattered, a top tip is to lay it all on the floor and have a play! Is something not working? Get rid of it! Keep shuffling things around until you’re happy with the end result as this is what it’ll look like mounted on the wall. If you’re not sure, take a photo of a few different options and come back to it with a fresh pair of eyes!
6. Get the positions right on the wall
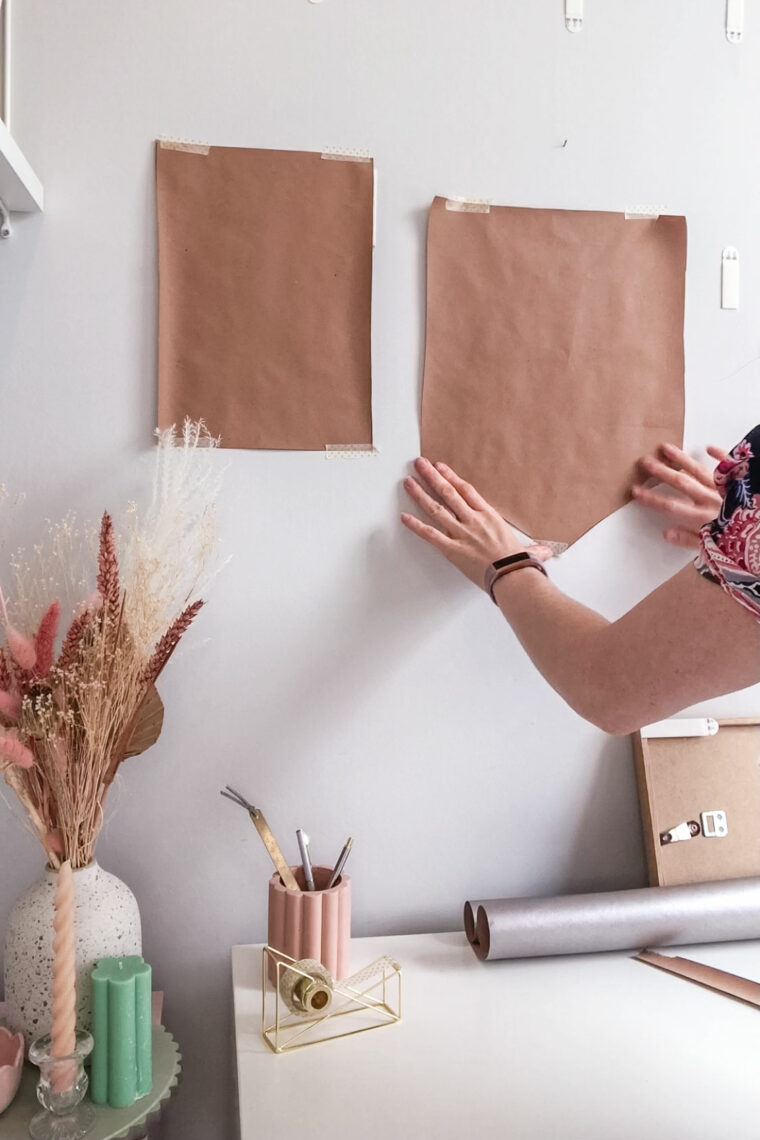
Even if you’re over the moon with your layout on the floor, it’s always best to try it out on the wall before committing. When thinking how to create a gallery wall, this is always the hardest bit! Our top tip is to cut out the shapes and sizes of your layout in brown paper and stick them to the wall. You could also use washi tape to mark the sizes out. This is a genius way to easily tinker with the positions until you’re happy with the end result and you can get to work hanging the actual pieces on the wall.
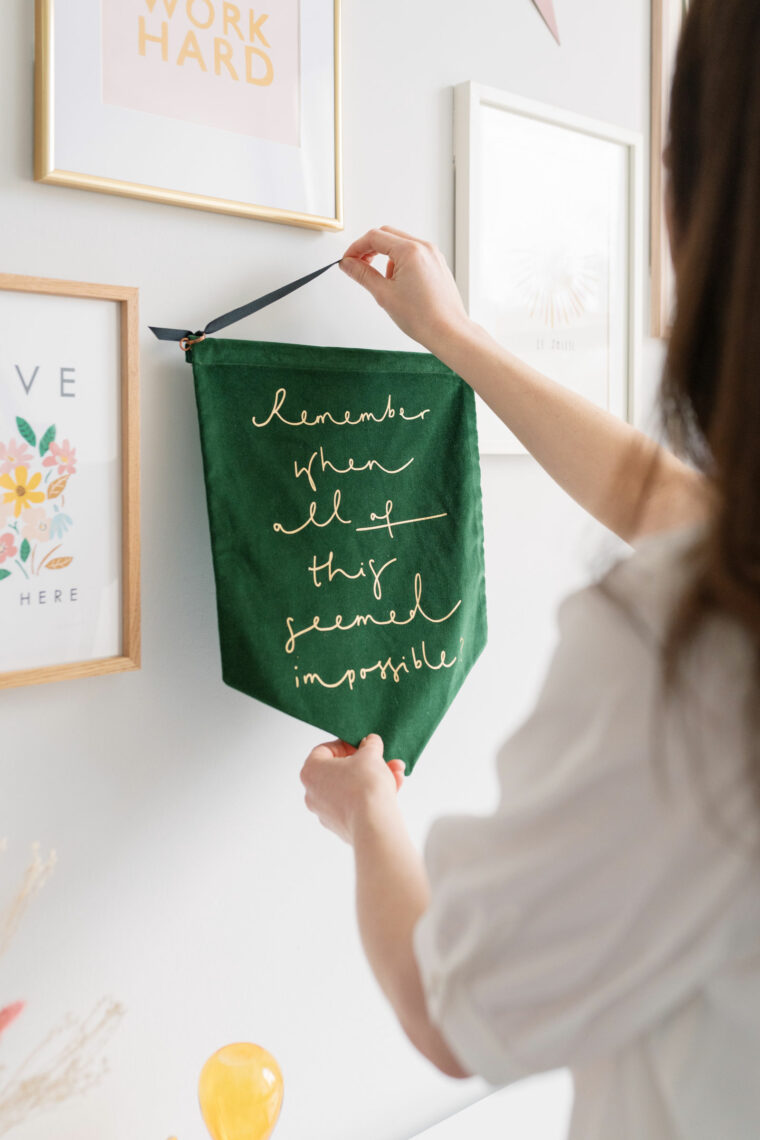
7. Hang everything up and that’s it!
Now it’s finally time to hang everything up in its dedicated position and admire your hard work. We highly recommend using Command Picture Hanging Strips, these are SO much easier than a hammer and nails, and make it easy to switch things up if you change your mind!
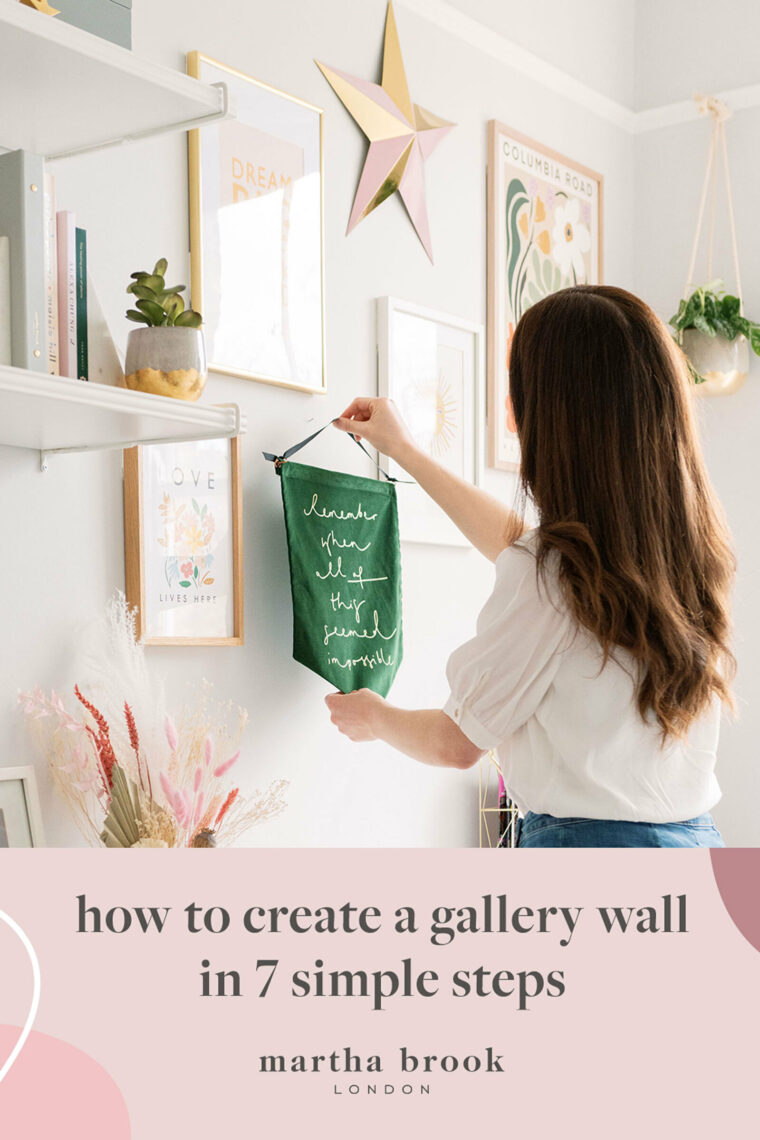
We hope that each day, as you work from home or walk past your gorgeous gallery wall, you’ll feel a sense of pride, inspiration and feel uplifted! And that’s it! How to create a gallery wall in 7 very easy steps.
P.S. Want to create a gallery wall of your own, see our Art Print collection here.


Currently creating a gallery wall and your article was really useful. Thanks for the inspiration!