Self-kindness, Seasonal
How to press flowers with these 3 easy steps
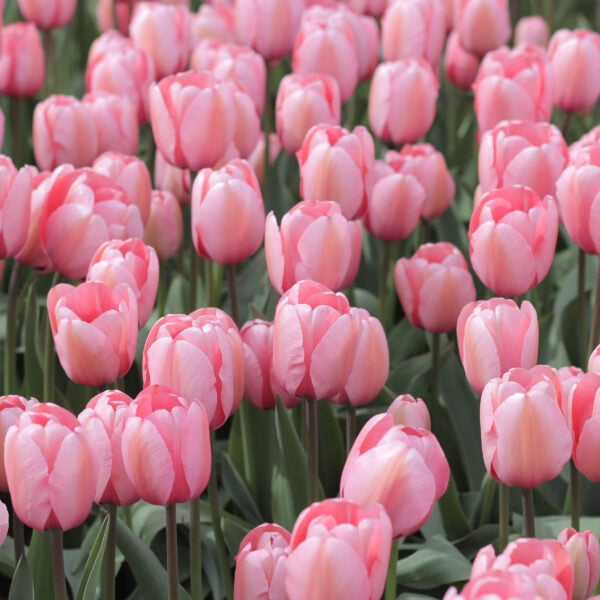
Jun 21As our gardens come into full bloom, we’ll find any excuse to spend some spare time relaxing amongst all mother nature has to offer. We want to bottle up that feeling and hold onto it forever, and learning how to press flowers makes the perfect warm-weather activity to do just that.
No matter if you have a huge variety of flowers starting to show their gorgeous colours or just a select few favourites in a window box, make summer last even longer by learning how to press flowers with these 3 easy steps.
How to press flowers

Things you’ll need
- Your favourite flowers of course!
- A sturdy, heavy book and preferably one you don’t mind getting a tad grubby
- Paper to absorb any water (blotting paper, baking paper or thin cardboard will do!)
- Something heavy to weigh the book down – a flower pot is perfect for this!
Top tips before you get started
- Choose flowers that are close to full bloom
- Make sure your flowers are completely dry by leaving them somewhere warm
- Gently separate the petals of large flowers

How to press flowers
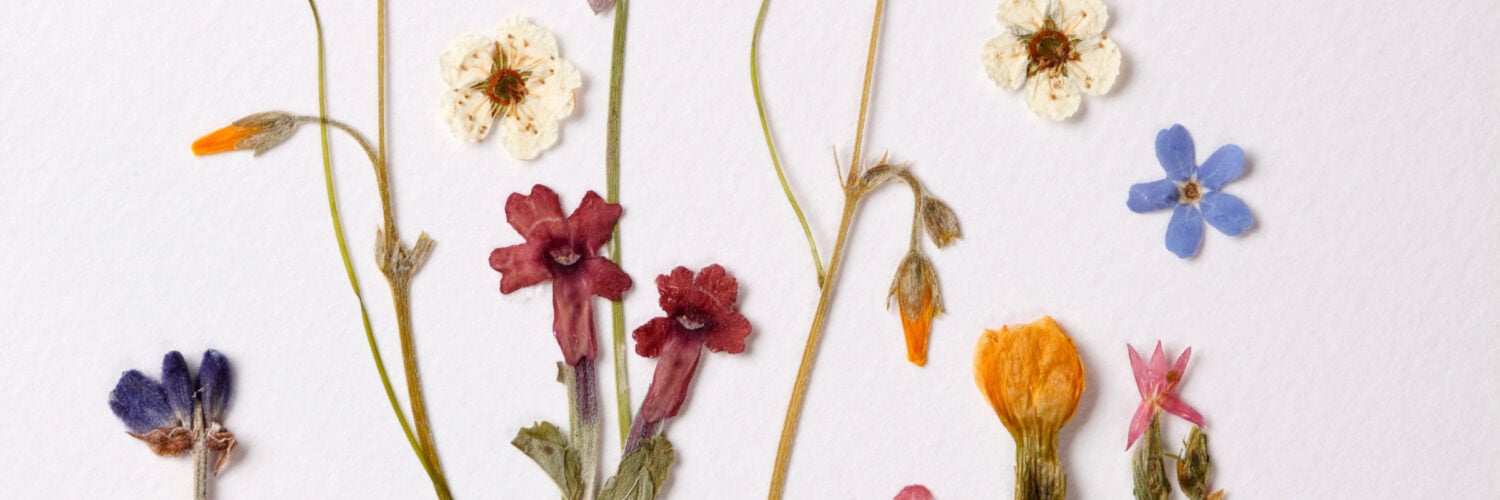
- Step one in our list of how to press flowers is to make sure you’ve selected some of your favourite flowers, so we can prepare them to be pressed. To get that full pressed flower effect, gently separate any petals, especially on larger stems, and then arrange on one sheet of the paper inside the book. If you’re pressing more than one stem or flower, make sure there’s enough space between each.
- Next, add another sheet of paper on top of the flowers to help protect your book then gently close the book to avoid too much movement of the flowers. Place something heavy on top that will apply some pressure and leave somewhere nice and dry. Our top tip: If you don’t have a weight, perhaps use something else like a heavy flowerpot or a vase!
- Next, wait for your flowers to dry. It can be hard to know when they’re ready, but it all depends on the size of the flowers and petals you’ve chosen, it can take anywhere from 2 weeks to a month. If you’re not sure, give them a check by gently opening the book to have a sneak peek.

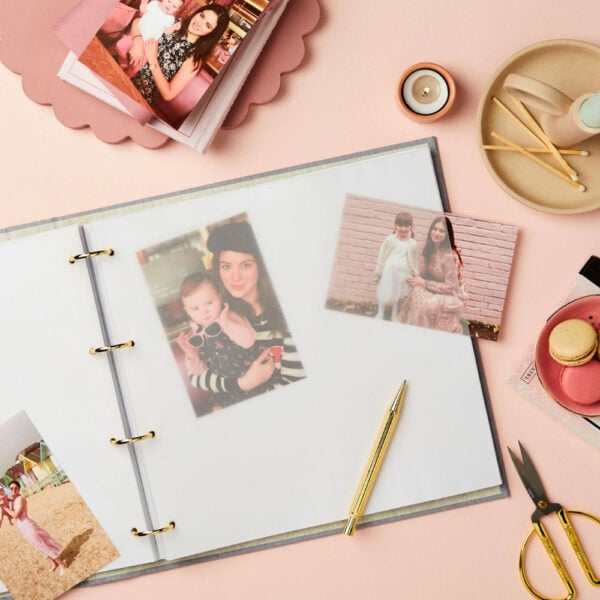
All that is left to do once your flowers have been pressed is to put them on display! We recommend using a glass photo frame (like our lovely gold standing photo frame) so you can enjoy the full effect of your blooms. Now you know how to press flowers! We hope you’ve found this guide helpful and can get to work on starting to press some beautiful blooms from your own garden.
Have you given this craft a go? Share yours with us @marthabrookldn on Instagram!
P.S. The floral fun doesn’t have to stop there! If you’ve loved learning how to press flowers, take a look at some of our favourite flower-inspired stationery picks do bring the garden with you wherever you go.


Leave a comment